Setting up a media centre at home no longer requires expensive hardware or complicated wiring, and the humble Raspberry Pi has become something of a champion for anyone wanting to stream IPTV playlists without breaking the bank. Whether you are a complete newcomer to single-board computers or simply looking for a fresh project for a rainy weekend, this guide walks you through everything you need to know to get your Raspberry Pi streaming smoothly, from the initial shopping list right through to fine-tuning performance once everything is up and running.
What to know
- The Raspberry Pi 4 is recommended for IPTV streaming due to its processing power and ability to handle high-definition video decoding efficiently.
- Using a high-quality power supply, a fast microSD card, and a wired ethernet connection are essential for maintaining stable, stutter-free performance.
- LibreELEC is the preferred lightweight operating system for this project, as it is specifically designed to optimize hardware resources for Kodi media applications.
- Tvheadend serves as the backend server on the Raspberry Pi, allowing users to organize, manage, and stream IPTV channels directly into their media center interface.
- Users can easily import M3U-formatted IPTV playlists into Tvheadend, which automatically populates channel directories and supports electronic programme guide data.
- Fine-tuning hardware connections and software settings is necessary to ensure the best possible video output quality and a polished viewing experience.
Getting Started: Essential Kit and Initial Raspberry Pi Setup for IPTV Streaming
Before diving into software installations, it is worth taking a moment to think about the physical components you will need. A successful IPTV setup depends just as much on sensible hardware choices as it does on clever configuration, so getting this stage right will save you a fair few headaches later on.
Choosing the Right Raspberry Pi Model and Accessories for Optimal IPTV Performance
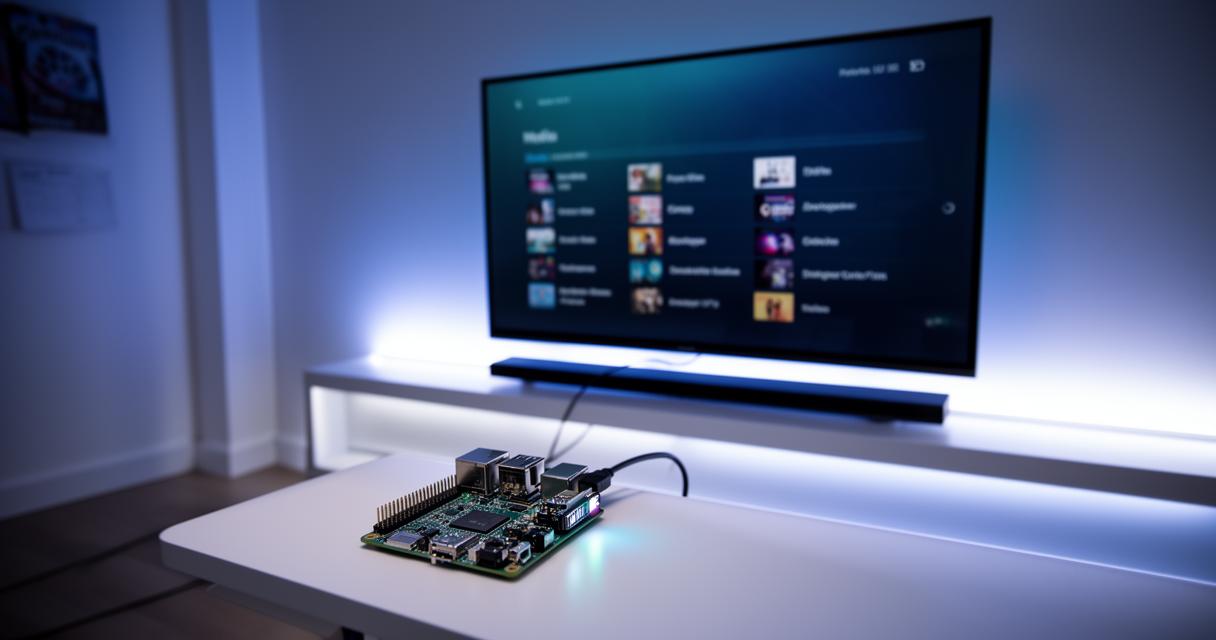
Not all Raspberry Pi boards are created equal, and if streaming is your main goal, it pays to choose a model with enough grunt to handle video decoding without stuttering. The Raspberry Pi 4 remains a firm favourite among hobbyists for this exact purpose, offering enough processing power and memory to cope with high-definition streams without breaking a sweat. Pairing your board with a decent power supply is essential too, as an underpowered adapter is one of the most common culprits behind random reboots and dropped connections. You will also want a reliable microSD card, ideally a fast one rated for continuous read and write operations, since this will store your operating system and any cached data. A wired ethernet connection is strongly recommended over relying purely on Wi-Fi, particularly if your household broadband can be a touch inconsistent, as a stable network link makes a noticeable difference to stream quality. Finally, a case with proper ventilation helps keep temperatures down during longer viewing sessions, which in turn helps maintain consistent performance.
Installing LibreELEC: Your Gateway to a Smooth IPTV Experience
Once your hardware is sorted, it is time to turn your attention to software, and this is where LibreELEC enters the picture. This lightweight, open-source operating system is built specifically for running Kodi and similar media centre applications, stripping away unnecessary bloat so that your Raspberry Pi can dedicate its resources to smooth playback rather than background processes you will never use. Installing LibreELEC is refreshingly straightforward thanks to tools such as the official Raspberry Pi Imager, which allows you to flash the operating system directly onto your microSD card in a matter of minutes. Simply select LibreELEC from the list of available images, choose your Raspberry Pi model, and let the imager handle the rest. Once flashed, insert the card into your Raspberry Pi, connect your peripherals, and power it on. The first boot will walk you through some basic setup steps, including connecting to your network and naming your device, after which you will land on the familiar Kodi interface ready for further customisation.
Configuring tvheadend and loading your iptv playlists
With your operating system in place, the next stage involves setting up the backend that will actually manage your channels and streams. This is where Tvheadend comes into its own, acting as a dedicated server that organises your IPTV playlists and feeds them neatly into Kodi or any other compatible frontend.
Setting up tvheadend server: step-by-step installation and configuration
Tvheadend is a versatile, open-source television streaming server that has become something of a staple within the home theatre community, and installing it on your Raspberry Pi is a sensible next step once LibreELEC is running. You can typically add Tvheadend as an add-on directly through the Kodi interface, found within the add-on repository under services or PVR clients. After installation, you will be prompted to configure some initial settings, including creating an administrator account and setting basic network parameters. It is worth spending a little time here getting the access permissions right, particularly if other devices on your home network will also be pulling streams from the same server. Once the core installation is complete, you can access the Tvheadend web interface from any browser on your network, which gives you a far more comfortable environment for the more detailed configuration work that follows.
Adding and Managing Your IPTV Playlists and Channels with Ease
With Tvheadend up and running, adding your IPTV playlists becomes a relatively painless process. Most playlists arrive in a standard M3U format, and Tvheadend allows you to import these directly by entering the playlist URL within the network configuration section. Once imported, the server will scan the list and populate your channel directory automatically, though you may still want to tidy things up manually, renaming channels, organising them into sensible categories, or removing duplicates that sometimes creep in from larger playlists. Electronic programme guide data can also be added at this stage, giving your setup a proper listings feel rather than a bare-bones channel list. Once everything looks in order, these channels become instantly accessible from within Kodi, letting you flick between them just as you would with a traditional set-top box.
Connecting Your Raspberry Pi via HDMI and Maximising Streaming Performance
With software configured and channels loaded, the final piece of the puzzle involves making sure your viewing experience on the television itself is as polished as possible. This means paying attention to your physical connection and tweaking a handful of settings to squeeze the best performance out of your setup.
Establishing a Reliable HDMI Connection for High-Quality Video Output
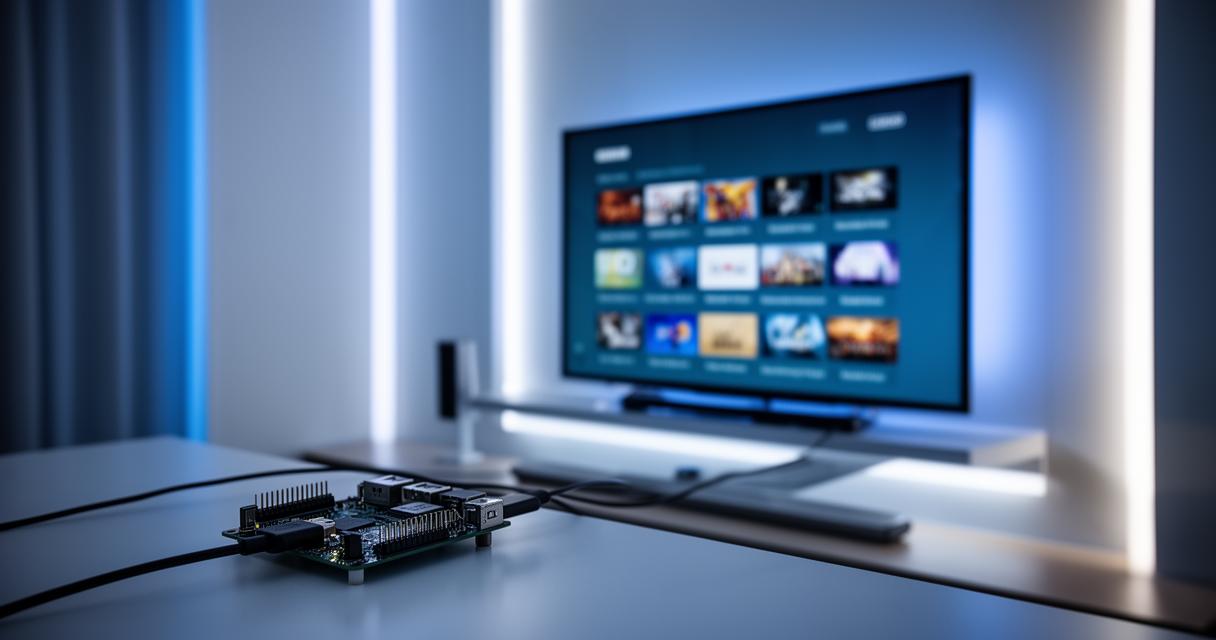
Connecting your Raspberry Pi to your television via HDMI is usually a simple plug-and-play affair, though a few small details can make a noticeable difference to picture quality. Using a good quality HDMI cable rated for high bandwidth helps avoid any unnecessary signal degradation, particularly if you are aiming for higher resolutions. Within LibreELEC's display settings, you can adjust output resolution and refresh rate to match your television's native specifications, which helps avoid any scaling artefacts or judder during playback. If your television supports it, enabling features such as automatic frame rate switching can also improve smoothness, allowing the Raspberry Pi to match its output to the frame rate of whatever content you are watching at that moment.
Fine-tuning performance settings and troubleshooting common iptv issues
Even with everything installed correctly, a spot of fine-tuning often makes the difference between a good experience and a great one. Adjusting buffer settings within Tvheadend can help smooth out any hiccups caused by fluctuating network speeds, giving the system a little breathing room before it needs to display incoming data. If you notice consistent buffering, checking your network connection first is always sensible, as wired connections generally outperform wireless ones for this kind of continuous data streaming. Overheating can also cause performance dips over time, so keeping an eye on your Raspberry Pi's temperature, particularly during longer streaming sessions, is a good habit to develop. Should specific channels misbehave, revisiting your playlist source and checking for updated links often resolves the issue, as IPTV sources can occasionally shift their stream addresses without warning.
Bringing all these elements together, from careful hardware selection through to a properly configured Tvheadend server and a well-tuned HDMI output, transforms a modest Raspberry Pi into a genuinely capable IPTV streaming device. With a little patience during setup and a willingness to tweak settings as you go, you will find yourself with a flexible, cost-effective media centre that rivals far pricier alternatives, all built around open-source tools and a board smaller than a deck of cards.